How to Create and Send an Email
Sending emails with Benchmark Email is easy. You can create, customize, and send engaging emails to your contacts. This guide will take you through each step, from email creation to final delivery.
Topics covered in this article:
BEFORE GETTING STARTED
- You will need to add a verified domain to your account before you can email your contacts.
- There are two areas from which you can send an email.
- Email creation process: This article focuses on the email creation process, which requires you to have a contact list created.
- Contacts Dashboard: Here, you can select all contacts or a group of contacts to email. To learn how to send an email from the Contacts dashboard, click here.
Video: Create and Send an Email
Step 1: Create a New Email
You can start creating an email in three areas: the Dashboard, the Email feature page, or the shortcuts available in the Benchmark Help Hub.
In the following steps, we will use the Email features page.
-
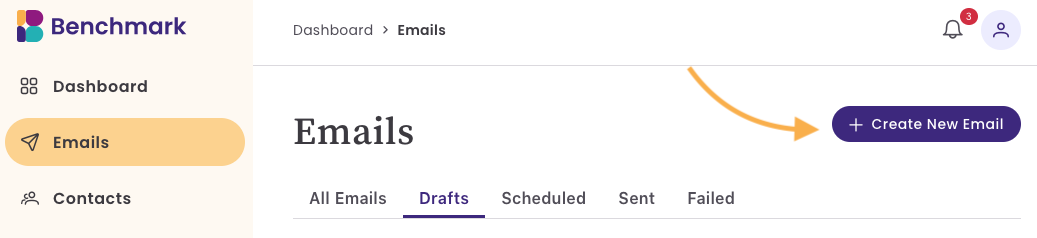
Click on the Emails option from the dashboard and select +Create New Email.
- Next, select a template to use.

-
When creating an email for the first time, you will see two options: Start from scratch or Templates. After you've created an email, you'll see the following options.

Drafts: Any emails you've started and have not sent out.
My Emails: Any emails that you have saved or sent out.
Templates: These are predesigned templates that can be modified to fit your brand needs.
Layouts: These are blank templates with layouts built to add images or text. The options include Simple Text, Basic, and Newsletter.
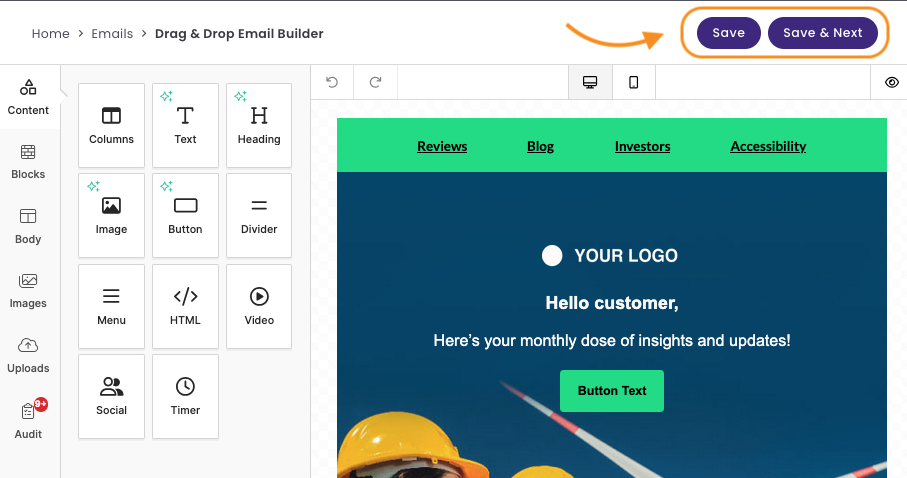
- After choosing your template, you'll be directed to the Drag-and-Drop Email Builder. You can personalize your email by:
- Adding text, buttons, and images.
- Include links to direct your audience to specific pages.
- Style the email according to your brand’s colors and fonts.
-
Preview your email to see how it will appear across different devices. You can preview the email on a desktop, tablet, and mobile device. Additionally, you can preview Light and Dark mode. ,
-
Saving Your Email

- Click Save to store your progress.
-
If you’re ready to schedule or send your email, click Save & Next.

Step 2: Email Details
Now that your email template is created, you'll need to assign the following.

- Email Name: This is internal and also optional. If no name is added, we'll add a default name with the email's creation date. To rename the email, click the pencil icon, enter a new name, and click Save.
- Subject: Add a compelling subject line. This is the email subject line your contacts will see in their inbox.
- Personalize the subject line by adding contact data, like their first name or other custom fields, and a Fallback text. The Fallback text will be used if the contact does not have the data in their contact field.
- Preview Text: This can be used as a short teaser about your email.
- Sender Information: This is what will identify you to your recipients. Add the following,
- Sender Name: Add the name you want your recipients to see. e.g., Customer Support.
- From Email: Add the email name you'd like to use. This can be the same as your from name or something different. This field can not contain any spaces.
- If you have more than one verified domain, click on the dropdown and select the domain to use.
- Reply-to Email: Select an email that your contacts can reply to.
- You can also add new Reply To Emails by clicking the Add option. A verification email will be sent to the email address. Please note that this link expires after 5 minutes. Once the email is verified, you'll see it listed in the dropdown.
- Contact List: Choose the contact list(s) you want to email. You can choose multiple lists; any duplicate recipients will only receive the email once. To learn how to create a contact list, click here.
Step 3: Review and Send Your Email

Preview your email to ensure it looks as expected. If changes are needed, use the Edit Design option to make final touches.

-
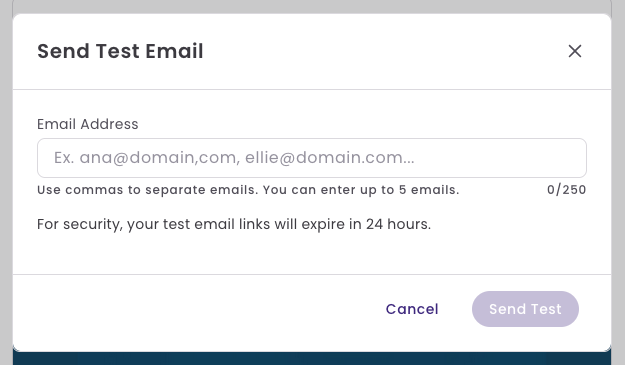
Send Test: Send yourself a test email to see how it appears in the inbox. You can send up to five test emails at a time. Make sure to use commas to separate each email. For security, your test email links will expire in 24 hours.
-
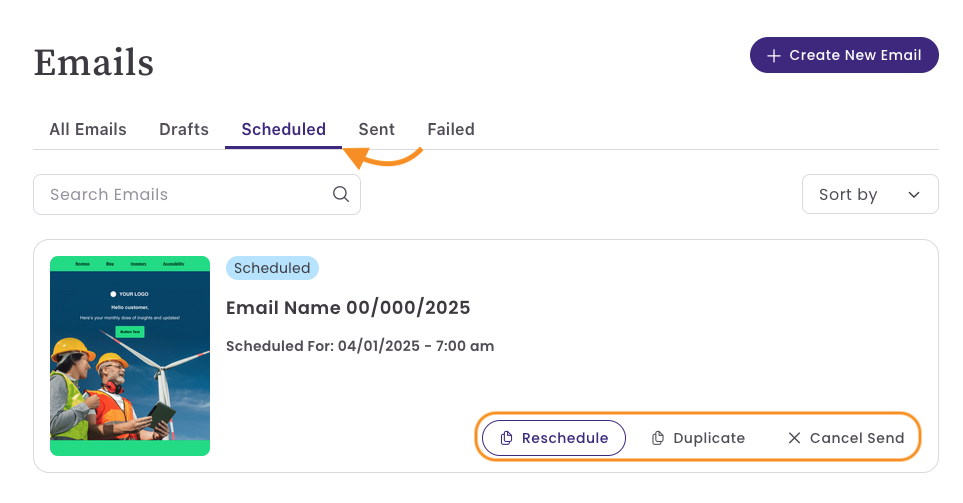
Schedule: Schedule the email to be sent at a later date and time. Your browser’s settings determine the timezone.
The scheduled email can be found in the Scheduled folder from the Emails dashboard.
Additionally, you can reschedule, duplicate or cancel the send.
-
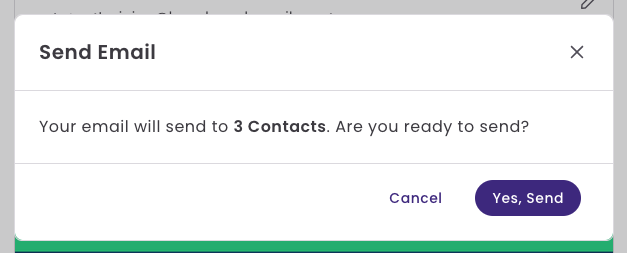
Send Now: The email will be sent immediately (delivery time may vary based on the number of contacts). You'll see a number of the contacts that will receive your email. After the email is sent, we can not stop it from being delivered.


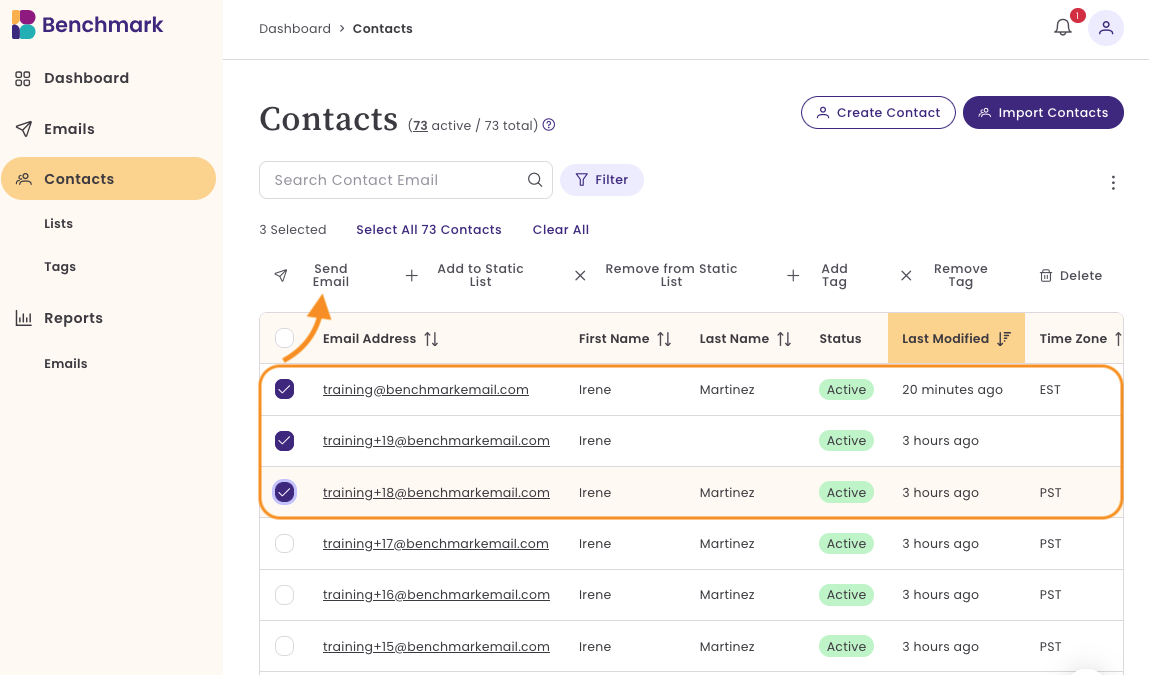
Sending an Email from the Contacts Dashboard
You can email your contacts from the Contact dashboard by selecting a few contacts, all contacts, or filtering for contacts with specific criteria.
To send an email from the Contacts dashboard, follow the steps below.
- Click on the Contacts option.
- Select the contacts you want to email.
-
Then click on the Send Email option.
- Select a template to send. You can choose from the following.
- My Emails: Emails that were previously saved or sent.
- Templates: These are pre-made templates created by our design team. You can replace the content, images and colors.
- Layouts: Layouts are blank and need to be filled in with your own content.
- Edit your email and select Save & Next.
- Add your Subject Line.
- Add the Sender information.
- From name
- From email Address
- Reply-to email address
- Contacts will already be selected.
- You can schedule the email or send it immediately by selecting Send Now.

After you've sent your email, you can see the email activity within the Email Reports page.