Importing and Creating New Contacts
Learn how to import contacts into your Benchmark Email account—upload a contact file, map fields, organize subscribers with lists and tags, or add contacts manually. When managing your email marketing audience, it’s important to understand the difference between Contacts and Lists. To learn more about Lists, click here.
Topics covered in this article:
BEFORE GETTING STARTED
- Any empty or missing values in your file will be uploaded as blank values in the corresponding columns.
- If the same email address is imported multiple times, the most recent import will update the contact’s information. If a contact cannot be matched, their existing information will remain unchanged.
- Only CSV files encoded in UTF-8 are supported. Files using other encodings cannot be imported.
- The contact file can not exceed 100MB.
- Your file must include labeled columns in the first row. If column labels are missing, the list will not be imported. Duplicate column names will not be detected during import.
- Contact lists that include tags: each tag must be placed in its own column, and each column name must be unique. Duplicate column names will not be detected during import, which may prevent tags from importing correctly.
- Tags per import: 1,000 unique tags maximum (tags exceeding this limit are skipped).
- Characters per field: 1,000 (we will keep the first 1,000 characters and truncate the rest).
- Contact size: up to 60 KB per contact
- Lists imported are subject to sampling: this process involves reviewing the quality of your contact list and removing contacts that should not be imported.
- Last Modified: the date when the contact record was last updated, including unsubscribes.
How to Import from a File
Importing contacts from a file requires a few steps: selecting your file and mapping your contact fields. Additionally, you can organize your contacts by adding them to a list or applying tags to the imported contacts.
Video: Import From a File
To import new contacts from a file, please follow the steps below.
Step 1: Import a File
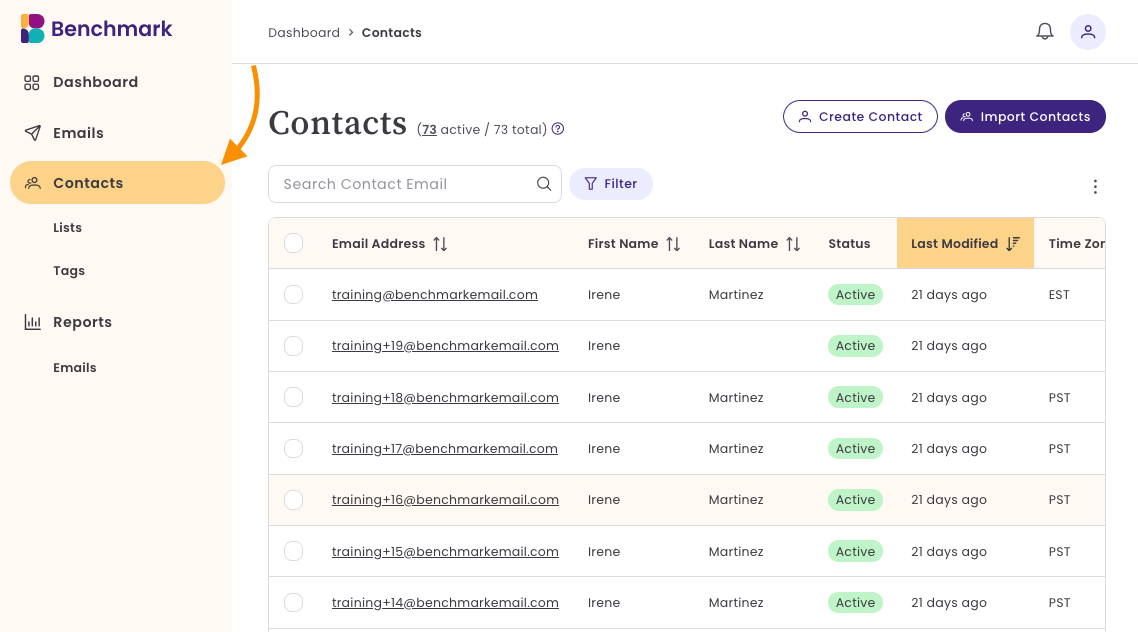
- Navigate to the Contact Dashboard.
-
Click on Import Contacts.
- Select Upload a File and choose a CSV file.
-
The file must be in CSV (encoded in UTF-8) format and should not exceed 100 MB.
-

Step 2: Map Contact Fields
- Once your file is uploaded, Benchmark Email will attempt to detect field names like First Name, Last Name, and Email.
- Review the detected fields and adjust them according to your needs.
- If a field does not match an existing option, select Create Custom Field:
- Click Add Custom Field.
- Enter a name for the new field.
- Click Add to save it.
Step 3: Organize Contacts (Optional)
- Organize your contacts by adding them to a contact list or by adding tags to the contacts being imported.
- To add contacts to a list, click on the dropdown and select an existing list or create a new contact list. To create a new list, Type in a list name and then click +Add.
- To add a Tag, click on the dropdown and select an existing tag or create a new tag. To create a new tag, type the name of the tag and then click +Add.
⛔ If you do not click the "Add" button after entering a list name or tag, the list or tag will not be applied.
Step 4: Review and Confirm Your Import
Here you'll get a summary of your list import.
- The Contact file name.
- Total records (contacts) in the file.
- Records Skipped, any invalid emails.
- Contacts to Import.
- Lists
- Tags
- Existing Contacts Found. Total contacts already existing within your account.
- Update any existing contacts. If you update information for existing contacts, any old data will be replaced. If you skip this option, their data will not be imported.
- If everything looks correct, select, Begin Import.
🚀 The import may take a few minutes, depending on the contact file size.
Review Imported Contacts
Once the import is complete, your contacts will appear in the Contacts Dashboard.
Create Individual Contact
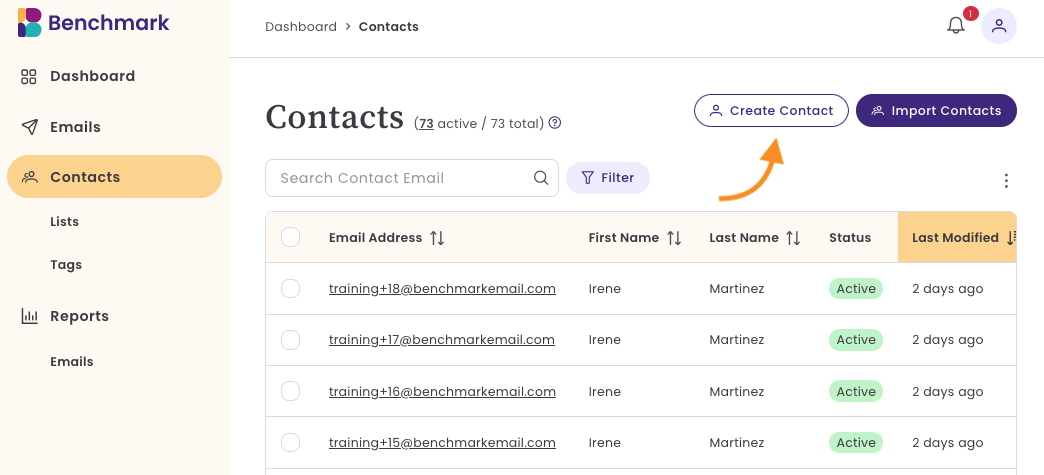
If you need to add a single contact, open the Contact's Dashboard and follow the steps below.
-
Click Create Contact.
-
Enter the contact’s Email Address, First Name, and other relevant details.
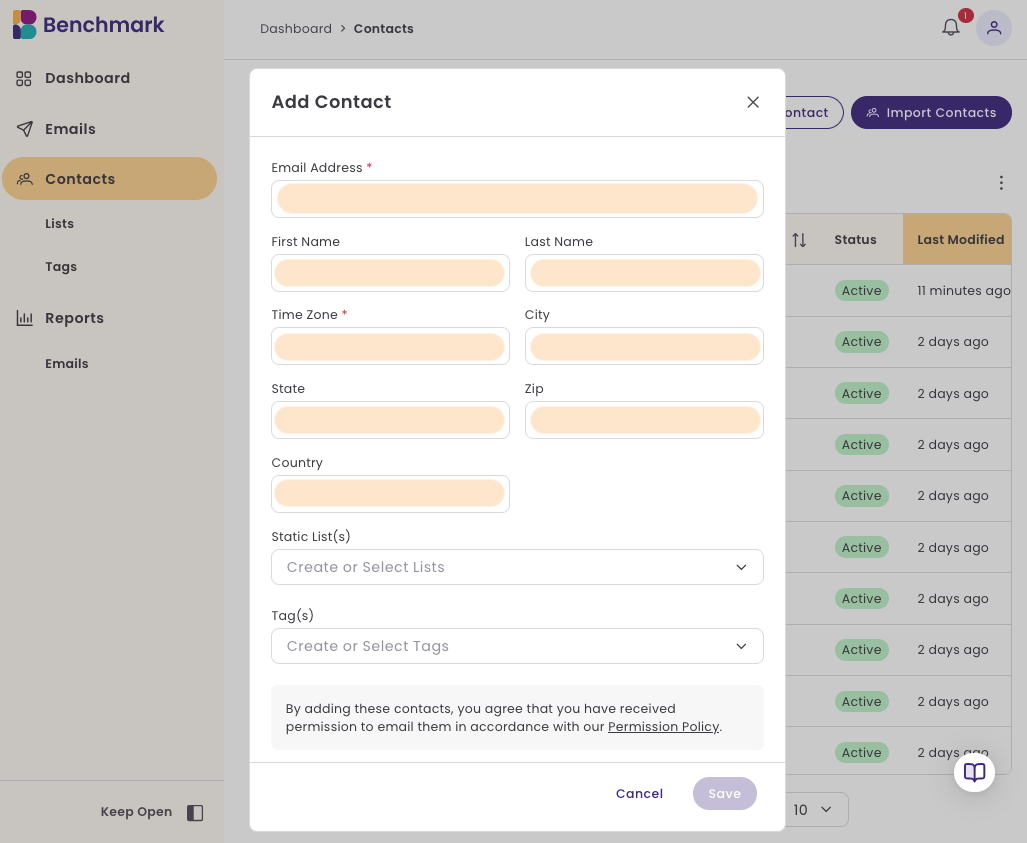
-
Optionally, select a List and apply Tags.
- Click Save.


Understanding Contacts and Lists
When managing your email marketing audience in Benchmark Email, it’s important to understand the difference between Contacts and Lists. These two features work together to help you store, organize, and segment your subscribers effectively.
Contacts are individual email subscribers stored in your Benchmark Email account. Each contact consists of various data points.
Lists allow you to group contacts based on shared criteria. A contact can belong to multiple lists without being duplicated in your account.
Frequently Asked Questions
I can't import a CSV file because it says it is not encoded in UTF-8. How can I fix this?
While UTF-8 is the standard for CSV files, some services may provide other alternatives. Here are some suggestions for saving your CSV file as UTF-8.
- Excel: Save As → Choose CSV UTF-8 (Comma delimited) (*.csv)
- Google Sheets: File → Download → Comma-separated values (.csv, current sheet)
- Text editors (e.g., VS Code, Notepad++): Ensure encoding is set to UTF-8 when saving.
What does the Last Modified date mean?
The "Last Modified" date refers to the following:
- Contact was created
- Contact was updated
- Manually or by being imported
- Contact Unsubscribed
- Manually or by the contact