
Automated Responses
An automated response lets you send an email to contacts as soon as they sign up through your forms. Set it up once, and each new subscriber automatically receives your message, whether it's a welcome email, a download link, or a discount code.
Topics Covered in This Article
Before Getting Started
- Automated responses are available only on paid plans. If you are using the Free plan, you can create and design the response, but you'll need to upgrade to a paid plan to activate it.
- Each signup form can have one automated response.
- The automated response is sent immediately after a contact signs up.
- Only new contacts who sign up through the form receive the automated response. Contacts already on your list don't receive it.
- Automated responses work with every signup form type: embedded, popup, and hosted page.
Set Up an Automated Response
Automated Responses are specific to the form they belong to. You can create one in your form by following the steps below.
- Go to Forms and select your form or create a new form.
- Go to the Automate step.
- If you are working from a new form, you'll need to select your form template, edit your design, set your form settings, and then click Save & Next.
- The Automate step sits between Settings and Publish in the signup form flow.

- In the Automated Response box, click Create Email.
- Here you can edit the automated response name; it's internal and not visible to recipients.

-
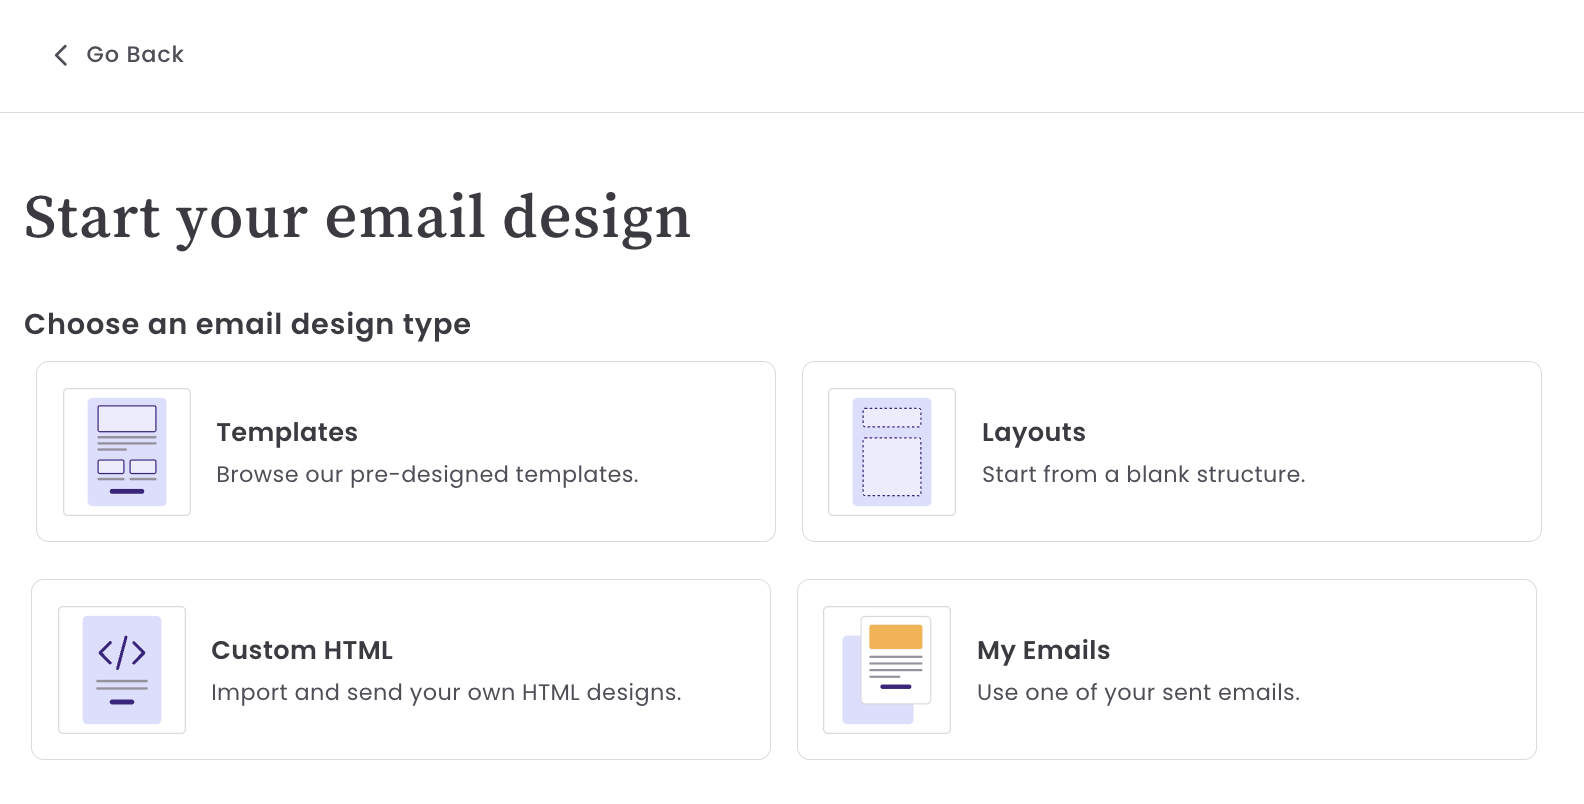
Choose an email design: one of your drafts, a template, a blank layout, or a custom HTML email.
- Design your email, and when you are finished, click Save & Next.

If your signup form promises something, like a guide or a discount code, make sure your automated response delivers it. New subscribers are most engaged in the first moments after signing up.
- Add a subject line, preview text, and the sender information. The subject line, preview text, and sender are all required.
- You can't activate the automated response until all three are complete.
- When done, click Save & Exit.

Activate and Publish
- Click Activate to turn on your automated response.

- On the Free plan, you'll see Upgrade to Activate instead of Activate. Upgrade to a paid plan to turn on your automated response.
- After you click Activate, your automated response is submitted for review and shows as Under Review. When approved, the status will change to Ready to Send.

If this automated response is being added to an already published form, you'll see a message that the email will start sending to new contacts who sign up through this form.

- Publish your signup form.

Manage Your Automated Response
You can edit an automated response after it has been activated. Changes are submitted for review, and the last approved version continues sending to new signups until your updates are approved, so no one misses an email.
Automated responses have their own Automation Emails tab on the Emails page. Here you'll see the Automated Response email and the form they belong to.

Use the Details option to edit the emails, subject line, sender information, design, or to deactivate the automated response.

Deactivate an Automated Response
If you only need to deactivate, click on Update Email and then select Deactivate.

Consider
Deleting a signup form deactivates the automated response.
Moving from a Paid plan to a Free plan deactivates all of your automated responses.
Frequently Asked Questions
Which signup forms support automated responses?
All form types support automated responses.
Why does my automated response say "Under Review"? Every automated response is reviewed before it starts sending. The automated response shows as Under Review until it's approved, and then it starts sending to new signups automatically.