Popup Forms Overview and Setup
Popup forms help you capture attention at the right moment by displaying a signup form directly on top of your website. They are designed to increase visibility and encourage more visitors to subscribe, register, or engage with your content.
With ready-to-use templates and flexible display settings, you can quickly create popup forms that match your brand and control exactly when and how they appear.
Topics Covered
Creating a Popup Form
Popup forms follow a 5-step creation flow to help you build and publish quickly:
Templates → Design → Display → Settings → Publish
Step 1: Select template
-
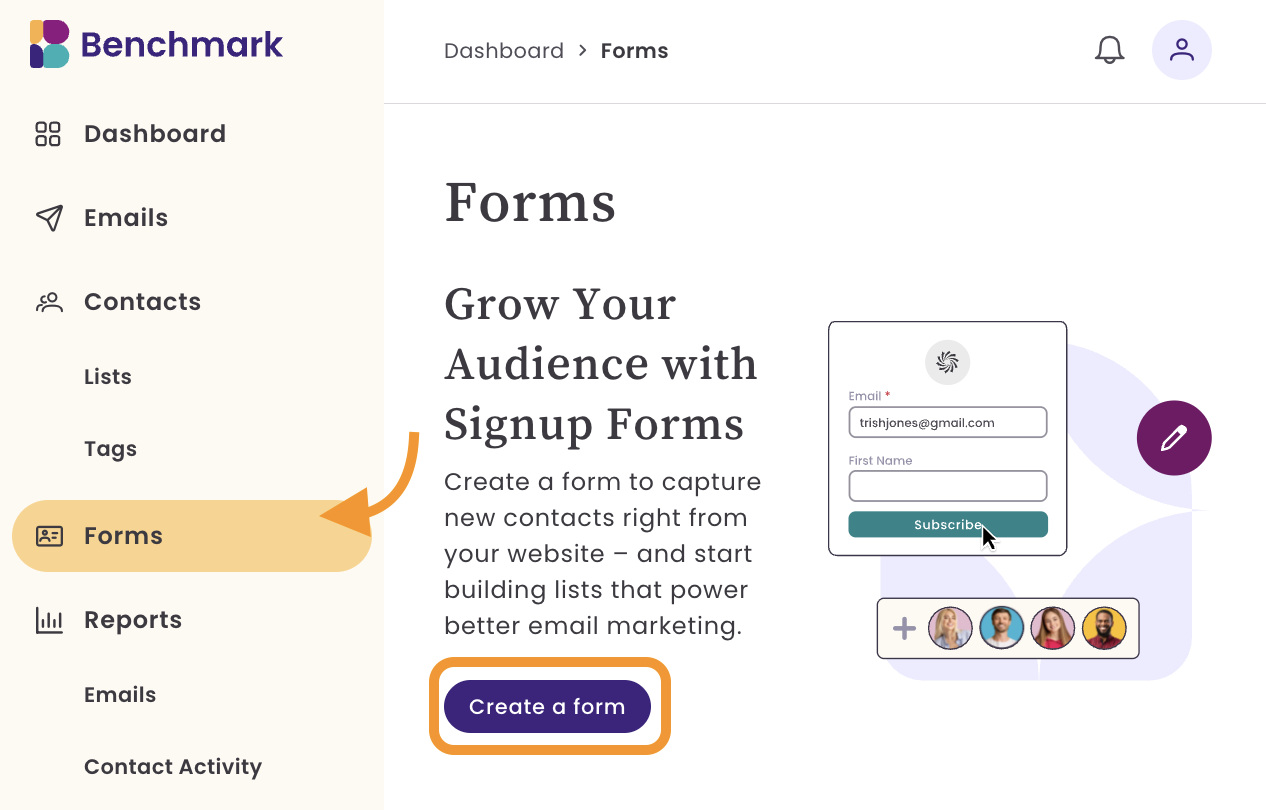
Go to Forms and click Create New Form.
-
Select the form type Popup and your template. The form type cannot be reversed. If you decide you need a different form type, you can create a new form.


Designing Your Popup
Step 2: Design Form
In the Design step, you can customize the look and feel of your pop-up form.
The form builder is similar to the email builder; here, you can:
- Adjust the width of your popup
- Customize corner rounding (border radius)
- Build your layout and add form fields, for
- Ensure your popup is optimized for mobile devices
- Choose whether the popup appears on desktop or mobile
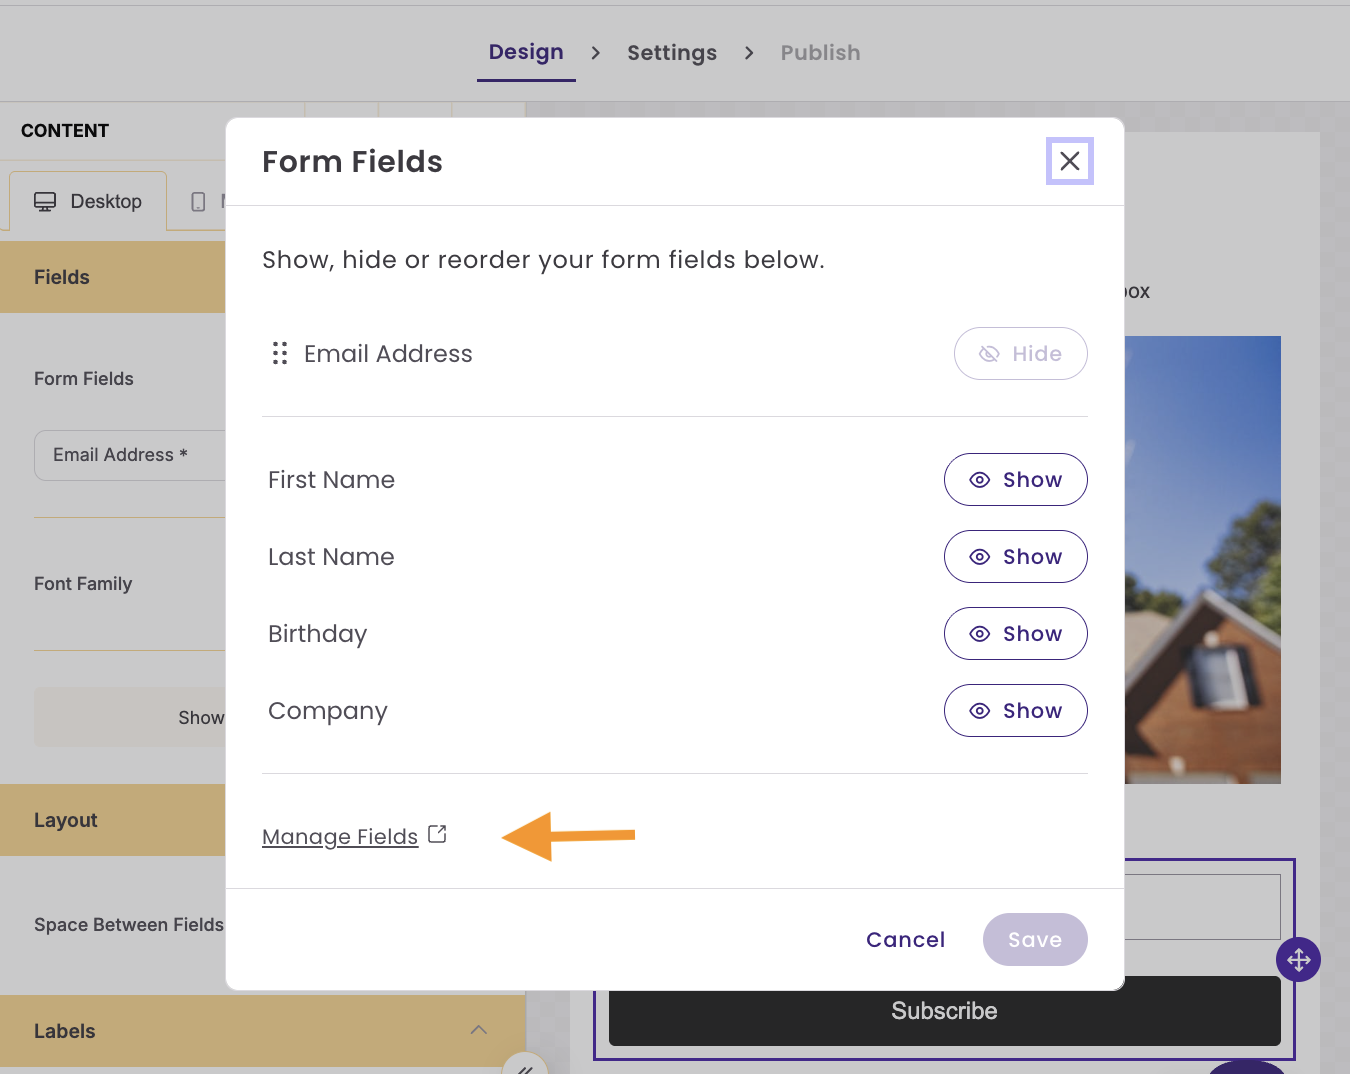
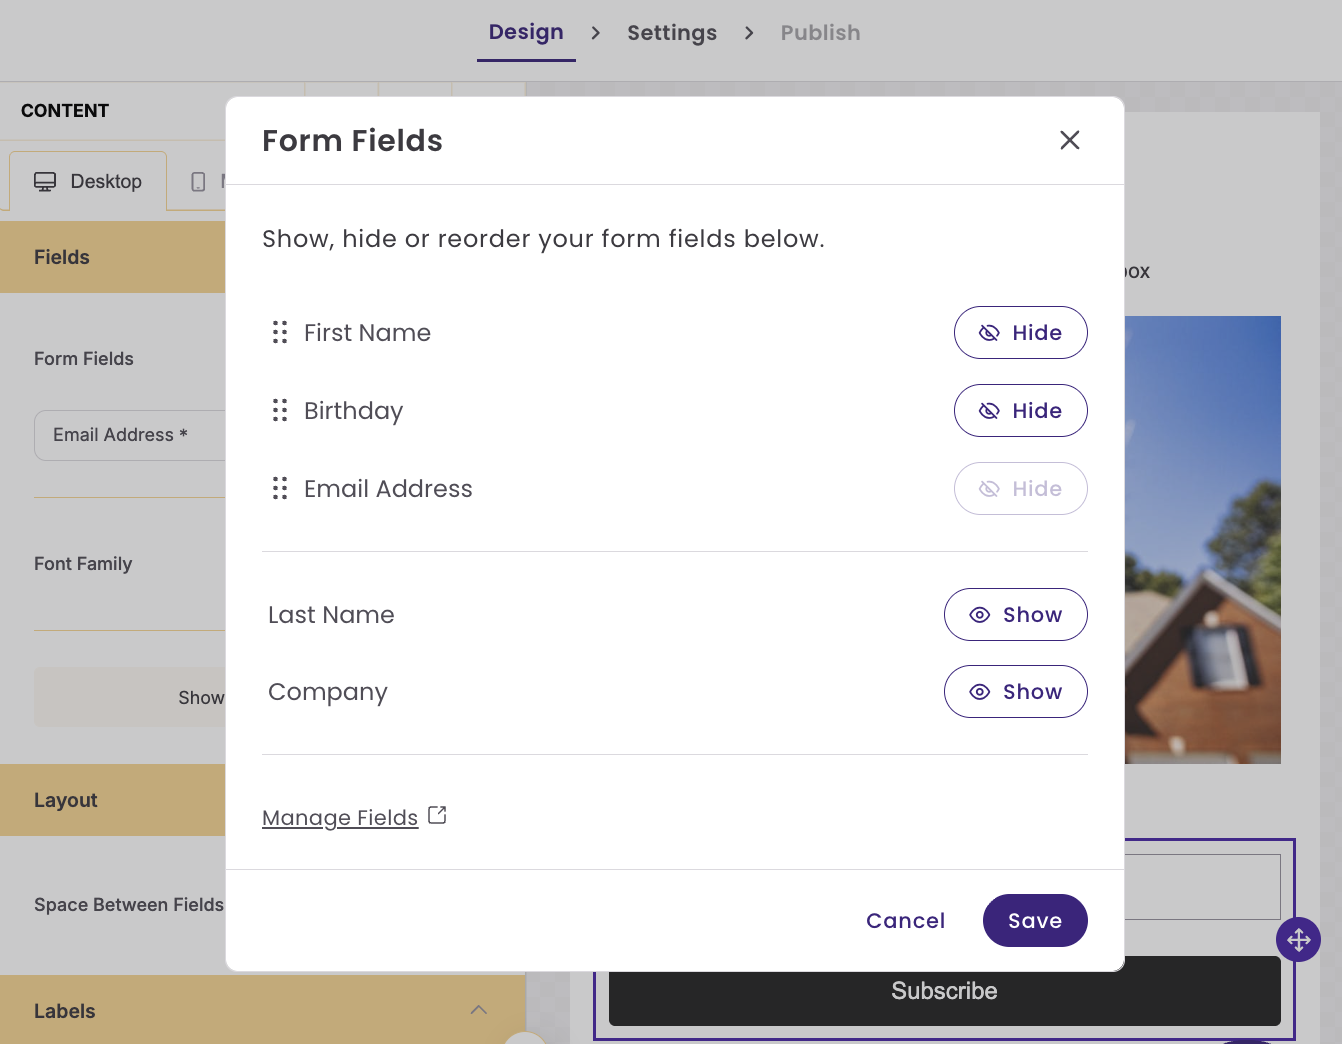
To add more fields:
Click on the email address field within the form, and the Fields menu will open on the left, where you can select Edit Fields and then choose Show next to the field you want to add. If you'd like to add more fields, click Manage Fields. This will take you to Account Settings > Contact Fields. Once done, return to the Form.
Organize Fields
You can arrange the fields by clicking the left edge of a field name and dragging it to the desired position.

Once your email design is finished, click Save and Next. If a form was published before, you'll see Save and Publish.
Controlling Display Behavior
Step 3: Display Options
Control how and when your popup appears on your website.
You can configure:
|
Layout & Style
|
|
|
Trigger Set when the popup appears (e.g., after a delay or immediately on page load) |
|
|
Frequency
|
|
|
Close Button
|
|
|
After Submission Behaviour
|
|


When finished, click Save and Next.
Managing Form Settings & Publishing
Step 4: Settings and Publish
In the Forms Settings, you can manage your form's name, enable or disable Spam Prevention, assign lists or apply tags, set the form's language, and edit the form's Success message. Learn more about each option below.
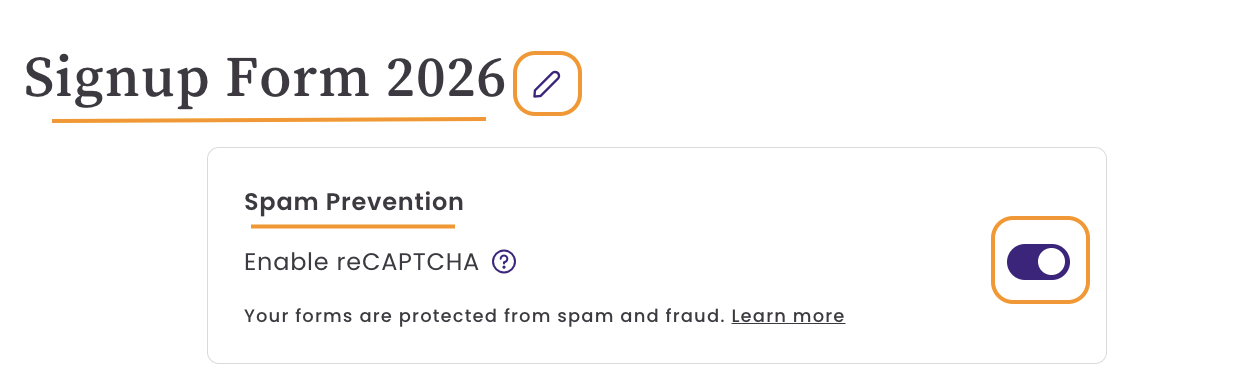
Form name
This name is internal.
Spam Prevention using reCAPTCHA
By default, reCAPTCHA is enabled for all new forms. reCAPTCHA helps prevent bot signups, learn more.
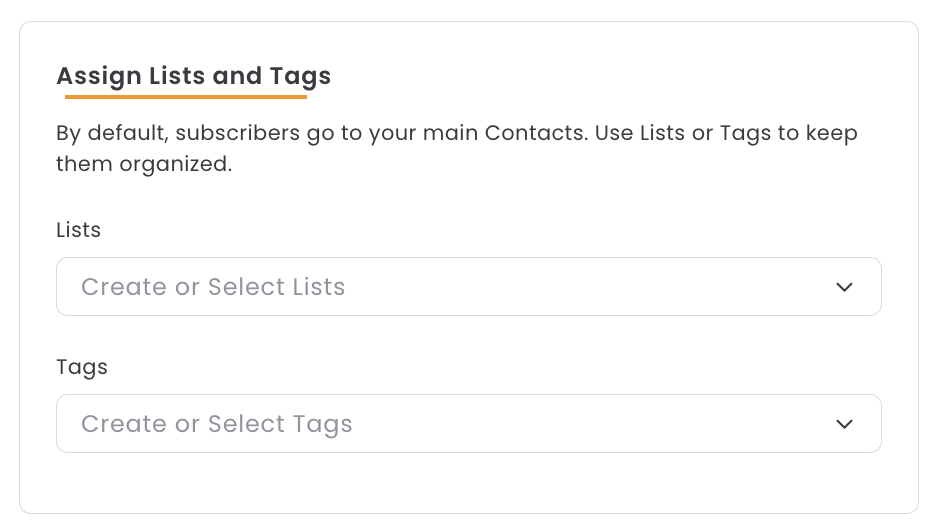
Assign Lists and Tags
Keep your new subscribers organized by applying specific tags or adding them to lists. By default, subscribers are added to your Contacts page.
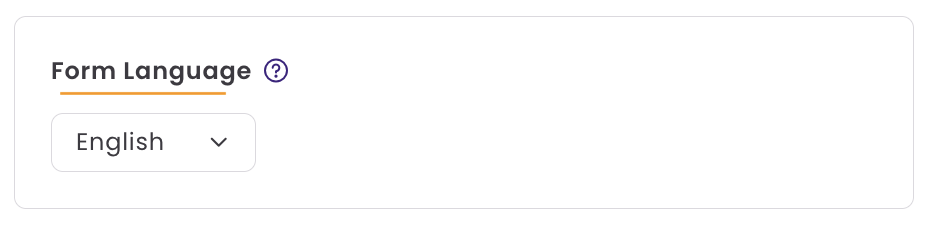
Form Language
By default, the form's language is set to your account's language. The chosen language determines the language used for messages.
Form Success Message
This message is shown to subscribers after they complete your form.

Once you finish this page, you can click Save and Publish or Save and Exit.
Publish
The Publish page provides the embed code for your signup form. To display the form on your website, paste the form's code into an HTML or Custom Code block within your website editor.

You can access the embed code at any time from the Forms page by selecting Get Code.
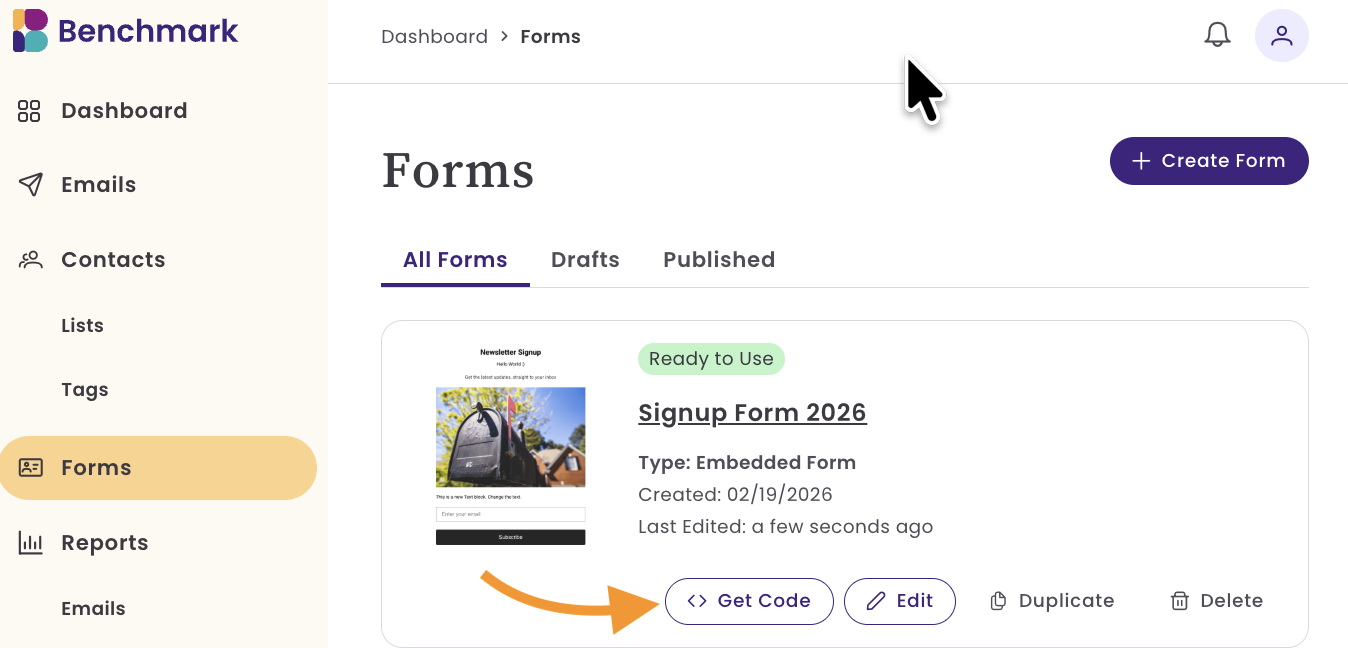
Managing Forms
In the Form's Page, you’ll find both Published and Draft forms. By default, the view is set to All Forms. To filter your view, simply click the option you’d like to display.
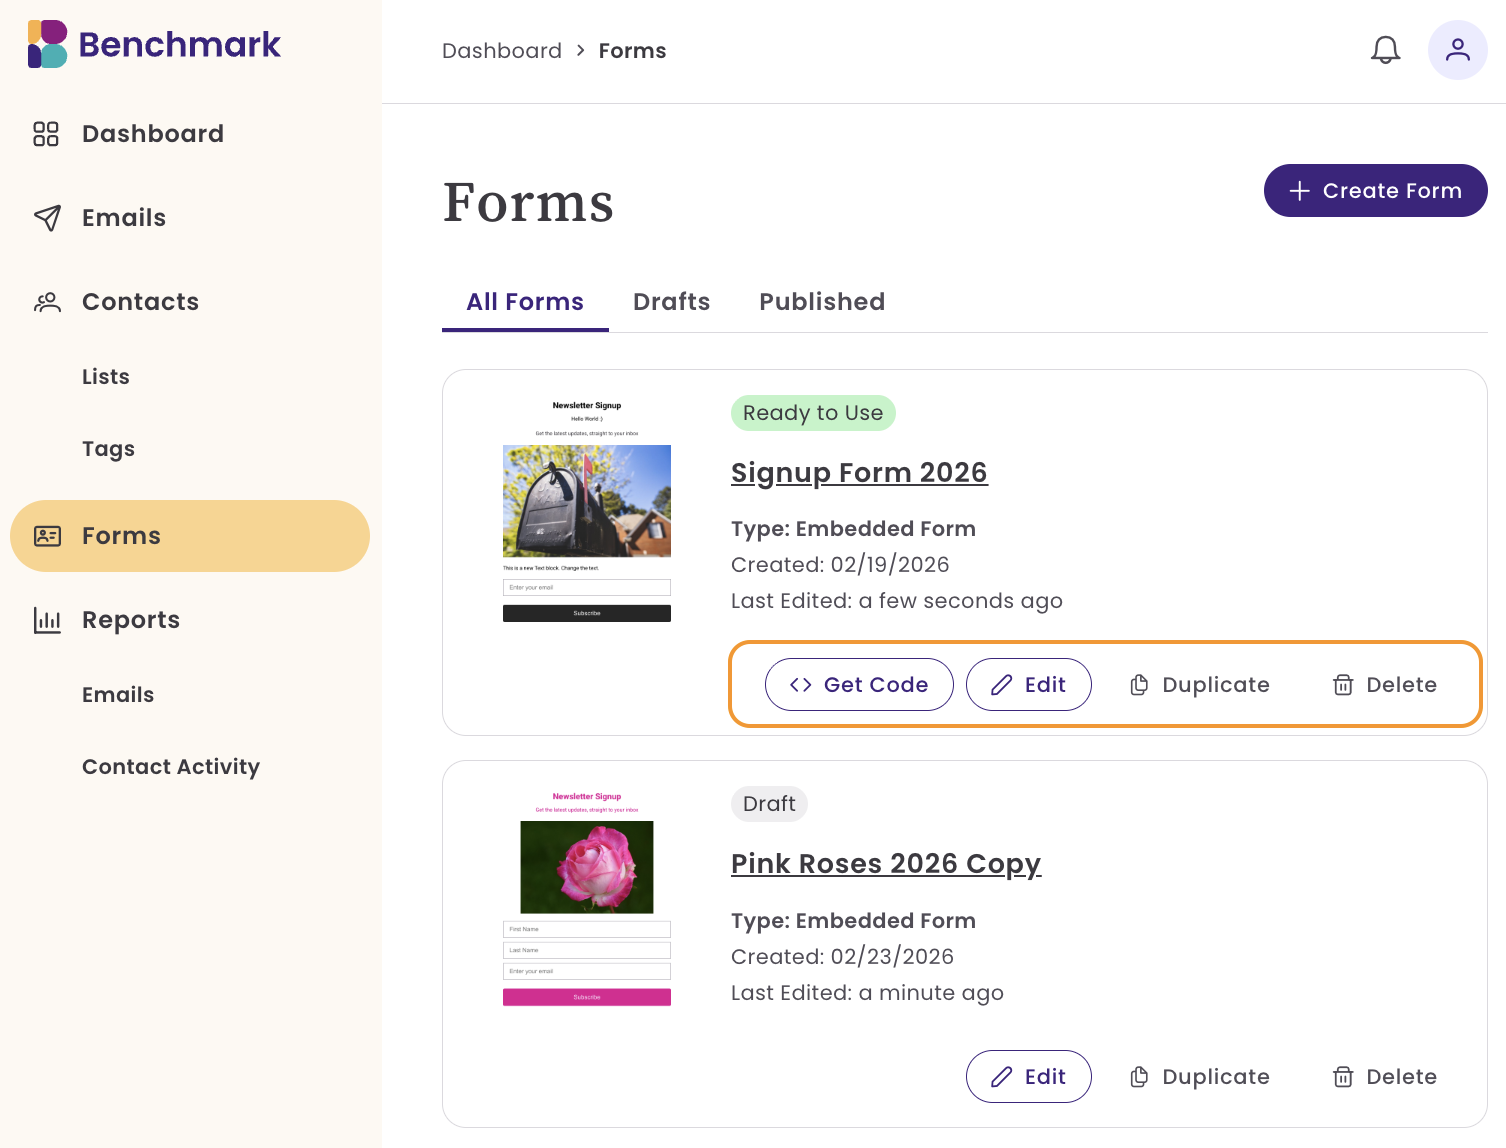
From this page, you can:
- Create New Forms
- Access your form's code: Use the Get Code option to copy your form's code.
- Edit: Takes you directly to the Design step of your form. To update form settings, click Settings within the form builder.
- Duplicate: Creates a copy of your form, including its design and settings (such as selected lists and tags).
- Delete: Permanently removes the form from your account.
Adding More Fields
When creating your form, you can choose from any existing fields in your account. If you need to add a new custom field, you can do so directly from the form editor or from Account Settings > Contact Fields.
To Add a New Field from the Form Editor:
- Click on a Form Field inside the editor.
- Select Edit Fields.
-
Click Manage Fields.
You’ll be taken to the Contact Fields page.
-
Add your new field and click Save.

- Return to Forms and reopen your form.
-
Go back to Form Fields, and your new field will now be available to add.
Fields marked as required in Account Settings are pre-selected as required when added to a form
Frequently Asked Questions
Can I control when my popup form appears?
Yes, you can choose when your popup displays using timing controls, such as showing it immediately or after a delay.
How often will visitors see the popup?
You can control display frequency, including showing it on every visit, once per session, or once within a set number of days.
What happens after someone submits the form?
After the contact submits their information, they will be added as a new contact in your account. If the contact already exists and provides new information, the existing information will be updated.